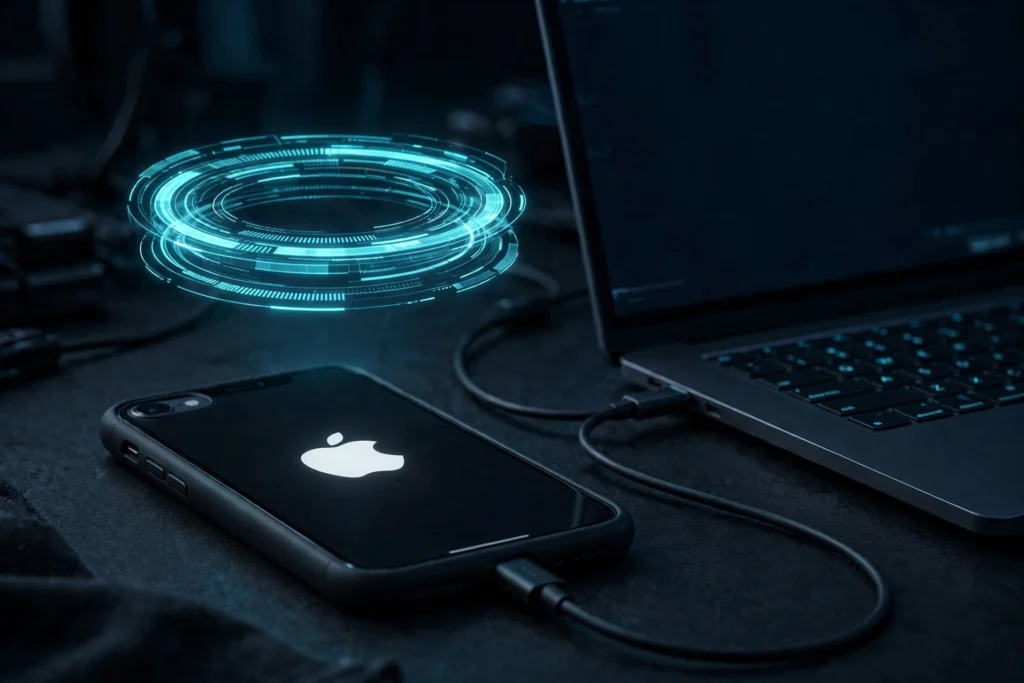
An iPhone stuck on the Apple logo is one of the most frightening things a phone can do. It turns on, shows the Apple logo, and then… nothing. It may sit there for minutes, restart and show the logo again, or loop endlessly. Your photos, messages, and apps are on the other side of that screen, and you cannot reach them. This is the classic iPhone stuck on Apple logo problem, and most cases are fixable without losing data.
Take a breath. Most Apple logo loops are fixable, and many are fixed without losing any data at all. The key is to work in the right order: start with the safest, simplest steps, and only move to the steps that erase your phone when the safe ones have failed. This guide follows that escalation ladder, for stock iPhones and for jailbroken ones, and it is plain about what each step can and cannot do.
If your phone is jailbroken, the cause is often a bad tweak, which is also the easiest kind of cause to fix — if you know the safe-mode trick. If it is not jailbroken, the cause is usually a failed update, a full storage chip, or a software crash. Either way, do not start by wiping the phone. Start at step one. First, though, if you are thinking about a jailbreak at all, check whether your device and iOS version can even be jailbroken with our Jailbreak Compatibility Checker — it will save you from chasing a fix that was never available.
What Causes an iPhone to Get Stuck on the Apple Logo?
An iPhone shows the Apple logo while it boots. If it never gets past that screen, something is stopping the boot process. The causes, ranked from most common and most fixable to least common, look like this.
1. A bad tweak (jailbroken phones)
On a jailbroken iPhone, the most common cause is a tweak that conflicts with iOS, with another tweak, or with your iOS version. It often starts right after you install or update a tweak: the phone resprings, shows the Apple logo, and never finishes booting. This is frustrating, but it is also good news — because if a tweak caused it, removing that tweak usually fixes it, and your data is untouched.
2. Storage that is completely full
iOS needs free space to boot cleanly, to write temporary files, and to finish an update. When storage is truly full — not just nearly full — the phone can get stuck during boot or during an update, and it may not have room to recover on its own. This is more common than people expect, especially on 64 GB phones that have been ignored for years. If you have been getting “iPhone Storage Full” warnings for weeks, this is a likely suspect.
3. A failed or interrupted update
An iOS update that is interrupted — by a dead battery, a lost connection, or a crash halfway through — can leave the system in a half-updated state. The phone tries to boot, finds files that do not match, and stalls on the logo. This is one of the main reasons Apple recommends updating with a charged battery and a stable connection, and it is why a Recovery Mode update, described below, exists.
4. A jailbreak gone wrong
A jailbreak that fails halfway, a jailbreak tool run on an unsupported iOS version, or a rootless-to-rootful mismatch can leave the phone unable to boot normally. This is different from a single bad tweak: the jailbreak itself, or the way it was applied, is the problem. The fix is usually to boot without tweaks loaded, remove the jailbreak state, or restore — in that order.
5. A hardware problem
Least common, but real: a failing battery, a damaged charging port, water damage, or a board-level fault can stop the phone from booting. If no software step helps, and the phone behaves the same way on a known-good cable and charger, hardware becomes the leading suspect. Software cannot fix a battery that cannot hold a charge through boot.
The Fix, in Order: Safest First
Work through these steps in order. Stop as soon as your phone boots normally. Do not skip ahead to a restore “just to be sure” — a restore is the step that erases things, and you only use it when the steps before it have failed.
Step 1: Force restart
A force restart is different from turning the phone off and on again. It cuts power to the frozen boot process and starts it fresh, and it does not erase anything. Try it twice before moving on — sometimes the first attempt does not take.
- iPhone 8 and later, including all Face ID models: press and quickly release Volume Up, press and quickly release Volume Down, then press and hold the Side button until the Apple logo appears. Release the Side button when you see the logo.
- iPhone 7 and iPhone 7 Plus: press and hold the Volume Down button and the Sleep/Wake button at the same time until the Apple logo appears.
- iPhone 6s, iPhone 6s Plus, and iPhone SE (1st generation): press and hold the Home button and the Sleep/Wake button at the same time until the Apple logo appears.
If the logo appears and the phone then boots to your lock screen or Home screen, you are done — but do not stop thinking. Note what happened just before the loop started: a new tweak, an update, or a full-storage warning. That is your likely cause, and it is worth dealing with before it happens again.
Step 2: The wait and storage reality check
If the force restart brings back the same logo loop, plug the phone into a known-good charger and cable and leave it alone for at least 30 minutes. A phone that is stuck in a boot loop drains its battery fast, and a low battery can look exactly like a boot failure. Do not keep force-restarting it every minute — that only drains it further.
While you wait, think honestly about storage. If your phone was full before this started, storage is a real suspect, and a Recovery Mode update may be the only way to give iOS room to finish booting. There is no button that magically frees space on a phone that will not boot, so do not waste time looking for one — the next steps are the ones that help.
Step 3: Recovery Mode update via Finder or iTunes
This is the most important step in this guide, and the one most people skip. Recovery Mode lets your computer reinstall iOS without erasing your data — if you choose Update, not Restore.
- Connect your iPhone to a Mac or Windows PC with a cable. On a Mac running macOS Catalina or later, open Finder. On older Macs and on Windows, open iTunes.
- Put the phone into Recovery Mode. On iPhone 8 and later, press and quickly release Volume Up, press and quickly release Volume Down, then press and hold the Side button — keep holding it past the Apple logo until you see the Recovery Mode screen (a computer icon and a cable). On iPhone 7, hold Volume Down and Sleep/Wake together until that screen appears. On iPhone 6s and iPhone SE (1st generation), hold Home and Sleep/Wake together.
- When Finder or iTunes offers you a choice, choose Update. This reinstalls iOS and tries to keep your data. Do not choose Restore yet.
- Let the download and install finish. If the download takes longer than about 15 minutes, the phone may exit Recovery Mode on its own — just put it back in and try again.
If the update works, your phone should boot to your data, apps, and settings as they were. That is why this step comes before a DFU restore: it is the last step that tries to save everything.
Step 4: DFU restore — the step that erases
If the Recovery Mode update fails, the next step is a DFU (Device Firmware Update) restore. Say this plainly: a DFU restore erases your iPhone. It wipes the phone and installs a fresh copy of iOS. If you have an iCloud backup or a backup on your computer, you can restore your data afterward. If you have no backup, you will lose the photos, messages, and app data that were only on the phone. There is no honest way around that, and any tool that promises otherwise is lying.
To enter DFU mode, connect the phone to your computer, then follow the button sequence for your model while the screen stays black — if you see the Apple logo, you are in Recovery Mode, not DFU, and you need to start again. Finder or iTunes will detect a phone in DFU mode and offer to restore it. Accept the restore, let it finish, and then set the phone up from your backup.
Only take this step after the Recovery Mode update has failed, and only after you have accepted what you will lose without a backup. That is exactly why backups matter — see the prevention section below, and our passcode guide, which covers the same restore-and-backup reality from a different angle: Forgot Your iPhone Passcode? Your Real Options, Ranked from Best to Last Resort.
Step 5: For jailbroken devices — safe mode and the last tweak
If your phone is jailbroken and the loop started after a tweak, do not go straight to a DFU restore. Try booting without tweaks first. On checkra1n and palera1n-style setups, holding Volume Up while the phone boots loads a safe mode that disables tweaks. If the phone boots in safe mode, the jailbreak itself is probably fine — a tweak is the problem.
Once you are in, open Sileo or your package manager and remove the last tweak you installed or updated, then reboot normally. If the phone boots, reinstall tweaks one at a time, testing after each one, until you find the one that breaks it. If safe mode does not help, the jailbreak state itself may be the issue — in that case, a Recovery Mode update is usually the safer next step than a full restore, and our palera1n guide for iPhone 8 and iPhone X explains how that jailbreak is meant to be set up and removed.
Every Method Compared
| Method | Data loss | Difficulty | When to use it |
|---|---|---|---|
| Force restart | None | Easy | First try, every time |
| Wait and charge | None | Easy | After a force restart fails; possible low battery |
| Safe mode / Volume Up boot | None | Medium | Jailbroken phone, loop after a tweak |
| Recovery Mode update | Usually none | Medium | Force restart failed; failed update or full storage |
| DFU restore | Erases the phone | Hard | Last resort; only after Recovery Mode update fails |
| Apple or repair shop | Depends on the fix | Easy for you | Nothing above works; likely hardware |
What About Third-Party iOS Repair Software?
You will also see third-party iOS system-repair software advertised for an Apple logo loop. As a category, these tools are mostly guided helpers: they put the phone into and out of Recovery Mode for you with one click, and then they run the same kind of reinstall or restore that Finder or iTunes would run. The one-click Recovery Mode entry and exit is the genuinely useful part, especially if your buttons are hard to time.
Be clear about what they cannot do. No honest repair tool can recover data from a phone that needs a full restore, and no tool can fix a hardware fault with software. If a repair tool promises to fix a boot loop “without data loss” in every case, or to repair a phone that Finder cannot even detect, be sceptical. Try the free, built-in steps in this guide first. They are the same steps a paid tool will try, and they cost nothing.
When It Is Hardware — and Time for Apple or a Repair Shop
If a force restart, a Recovery Mode update, safe mode, and a DFU restore have all failed — or if the phone will not even be detected by your computer — you are probably looking at hardware. A battery that cannot hold a charge, a failed storage chip, water damage, or a board fault can all produce an Apple logo loop that no software step will fix.
At that point, take it to Apple or to a reputable repair shop, and tell them exactly what you have already tried. That saves them time and saves you from paying for steps that have already failed. If your phone is jailbroken, remember that Apple may decline service for jailbreak-related damage, and that a restore to stock is the usual way to remove the jailbreak before a visit — though a phone stuck on the logo may not let you do that, which is worth mentioning honestly when you explain the problem.
Prevention: How to Avoid the Apple Logo Loop
- Keep storage headroom: try to keep at least a few gigabytes free at all times. Delete unused apps and large videos before storage warnings become a boot problem.
- Tweak hygiene: install one tweak at a time, from trusted repos, and only tweaks that say they support your iOS version. Remove tweaks you no longer use instead of leaving them installed.
- Back up regularly: turn on iCloud Backup, or back up to your computer before every iOS update and before installing a new jailbreak or a major tweak. A backup is what turns a DFU restore from a disaster into an inconvenience.
- Update carefully: update iOS with a charged battery and a stable connection, and do not interrupt an update once it has started.
Frequently Asked Questions
Will a force restart delete my photos?
No. A force restart does not erase anything. It only restarts the phone. A Recovery Mode update also tries to keep your data. Only a restore — including a DFU restore — erases the phone.
How long should I wait on the Apple logo?
A normal boot takes a minute or two at most. If the logo has been there for more than 10 to 15 minutes, or the phone is looping back to the logo repeatedly, it is stuck — move on to a force restart, then Recovery Mode.
Can a jailbreak cause the Apple logo loop?
Yes, usually through a bad tweak rather than the jailbreak itself. Boot into safe mode with Volume Up held, remove the last tweak, and reboot. If that does not work, use a Recovery Mode update before considering a full restore.
The Bottom Line
An iPhone stuck on the Apple logo is stressful, but it is usually a software problem with a software answer. Force restart first, give it power and time, try a Recovery Mode update before any restore, and use safe mode if you are jailbroken. Save the DFU restore — the step that erases — for last, and only after you have accepted what a missing backup would cost you.
And when your phone is working again, do the two things that make the next problem smaller: free up storage, and turn on a backup. The next Apple logo loop will still be annoying. It will not be a disaster.